Why Professional Kitchen Equipment Installation Matters
Kitchen equipment installation is the process of safely setting up cooking appliances, ventilation systems, refrigeration units, and beverage equipment in commercial or residential spaces. It requires careful attention to utility connections, building codes, manufacturer specifications, and safety regulations.
Quick answer for installation services:
- For commercial kitchens — Hire licensed technicians who handle gas lines, electrical connections, hood systems, and code compliance
- For residential ranges and cooktops — Professional installation takes 2 hours or less in most cases
- Key requirements — Anti-tip brackets, proper clearances, leak testing, and warranty protection
- What's included — Equipment delivery, old equipment removal, utility connections, leveling, and testing
- Average cost protection — 90-day warranties on parts and labor are standard for professional services
The stakes are high when installing commercial kitchen equipment. As one restaurant manager put it after an urgent hood installation, the work was completed "without disrupting restaurant operations" and "in less than 48 hours." That's the difference between opening on time and losing revenue.
Most installation failures happen because of three things: improper gas connections, missing anti-tip brackets, or incorrect ventilation setup. Each of these can lead to serious safety hazards, failed inspections, or voided warranties.
Whether you're opening a new restaurant, upgrading a bar, or replacing worn-out equipment, professional installation protects your investment. Factory-trained technicians know the specific torque specs for electrical connections, the precise height for suspension rails, and the exact clearance distances required by fire codes.
For businesses in the beverage and foodservice industry, equipment downtime means lost revenue. That's why companies like Carbonator Rental — serving the Philadelphia area since 1955 — offer complete installation services alongside equipment supply and maintenance programs.
 Site preparation and utility verification, 2) Delivery and unpacking, 3) Positioning and securing equipment, 4) Gas/electrical/water connections, 5) Anti-tip bracket installation and leveling, 6) Testing and code compliance verification, 7) Warranty activation and maintenance scheduling - kitchen equipment installation infographic")
Essential Safety and Site Preparation for Kitchen Equipment Installation
Before a single crate is opened or a wrench is turned, the foundation for a successful kitchen equipment installation must be laid. Safety isn't just a buzzword in a commercial kitchen; it’s a legal and operational necessity. An improperly installed range or a poorly ventilated fryer can lead to fires, gas leaks, or production halts that can shutter a business in Newark or Wilmington overnight.

One of the most critical safety steps is ensuring that all units are protected against physical hazards. For example, when you learn how to install a gas or electric range, you’ll find that anti-tip brackets are non-negotiable. These small but mighty components prevent the unit from tipping forward if a heavy pot is placed on an open oven door—a simple measure that prevents catastrophic injuries.
Furthermore, combustible clearances must be strictly observed. Most commercial units require a minimum of 30 to 36 inches of clearance between the cooktop and any uncovered wood or metal cabinet bottoms. Ignoring these dimensions is a recipe for a fire inspector's "fail" grade.
Pre-Installation Checklist for Kitchen Equipment Installation
Preparation is the antidote to installation delays. We recommend a thorough audit of your site at least one week before the equipment arrives.
- Site Access: Verify that there is an unobstructed path for the delivery team. Measure every doorway, hallway, and tight corner between the loading dock and the final kitchen location.
- Floor Leveling: Commercial kitchens often have sloped floors for drainage. However, equipment like ranges and refrigerators must be perfectly level to function. Use a spirit level to identify the highest point of the floor; this is where your measurements for suspension rails and cabinet heights should begin.
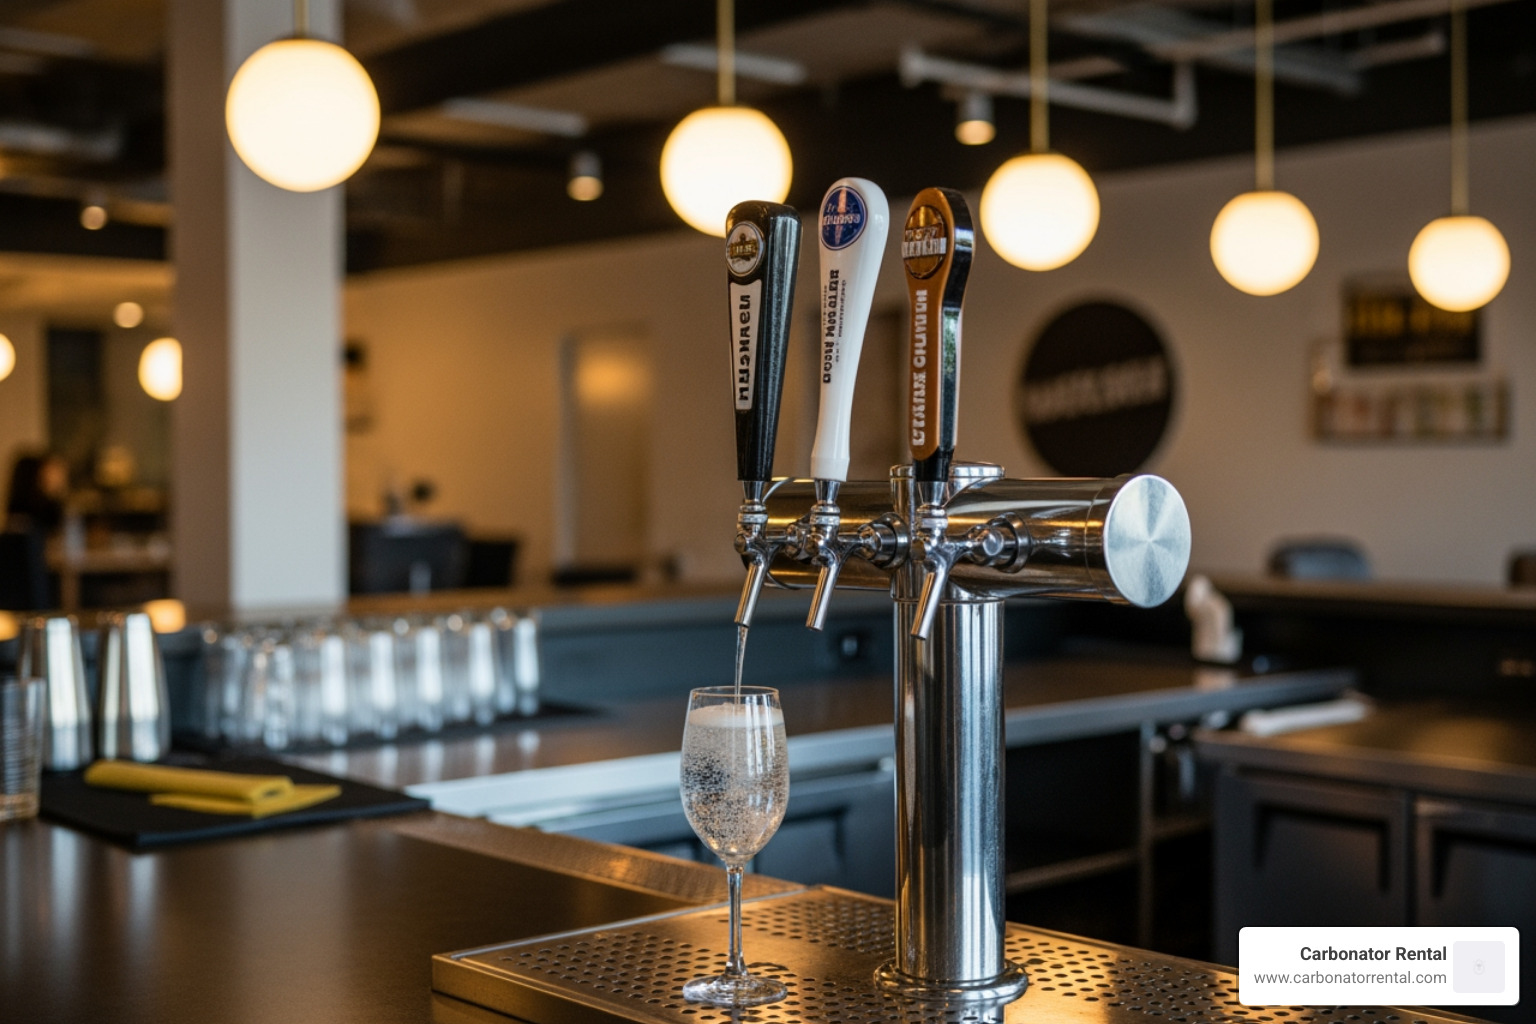
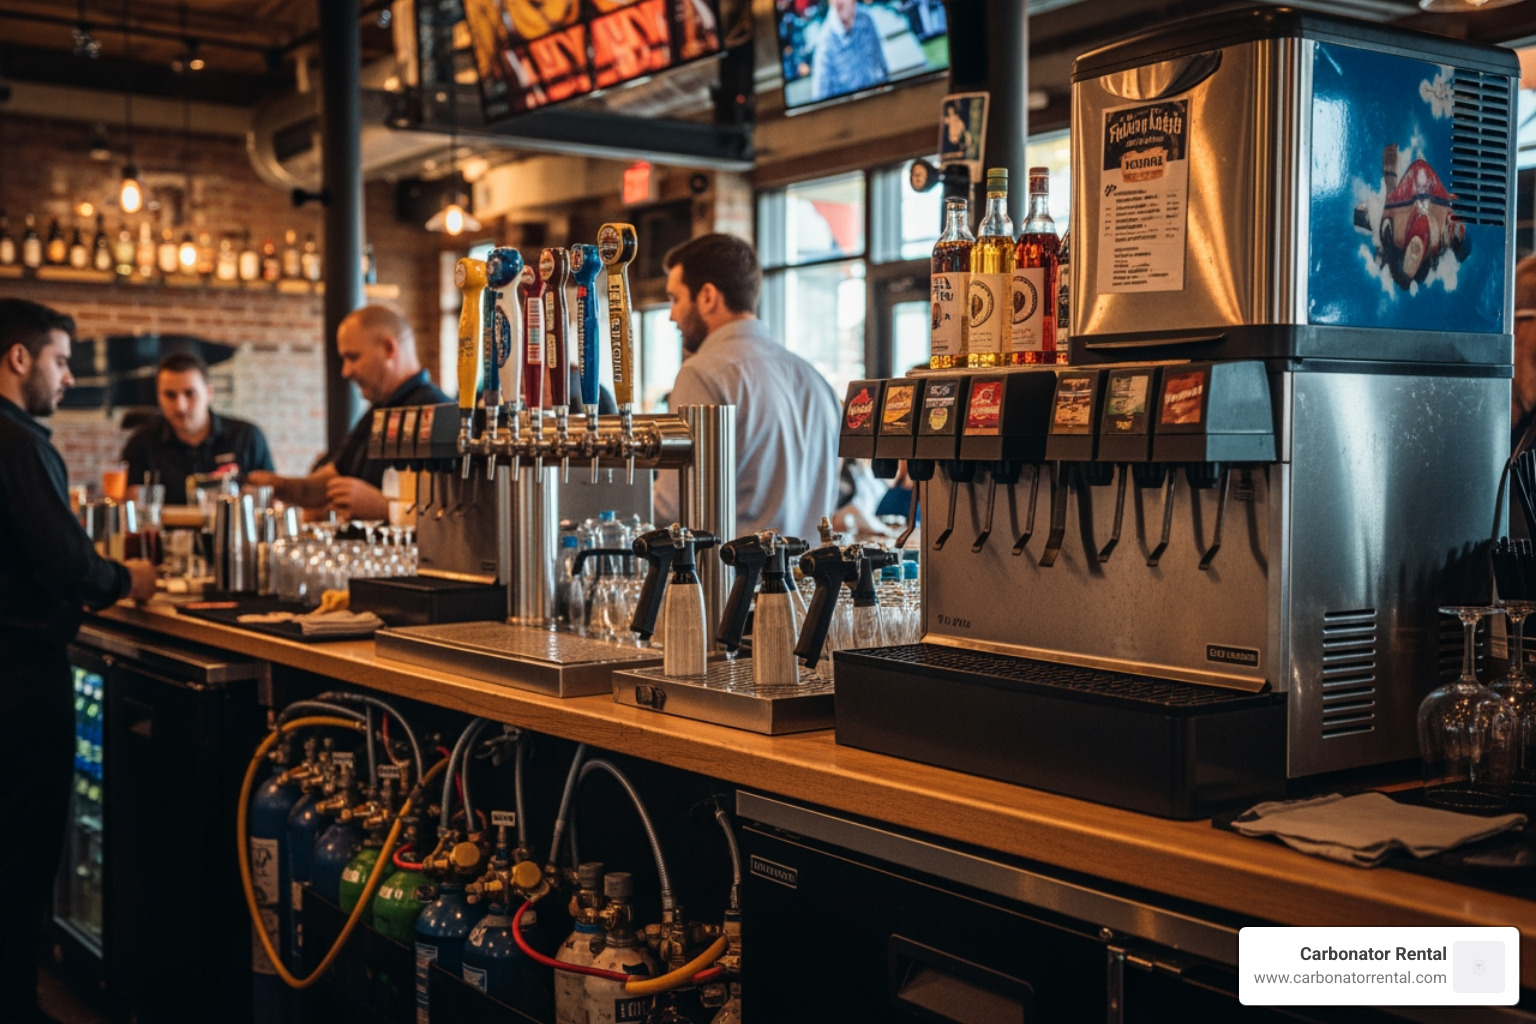
- Utility Mapping: Ensure that your gas shut-off valves, electrical outlets, and floor drains are exactly where they need to be according to the manufacturer’s blueprint. For those in the beverage industry, this includes checking for water lines and drain access for soda fountains and ice machines. You can find more info about beverage equipment installation services to ensure your bar setup is as seamless as your kitchen.
Measuring and Cutout Specifications
Precision is paramount when dealing with built-in equipment. For cooktops and ranges, the countertop cutout must be exact. A common rule of thumb is to subtract 1/2 to 1 inch from each side of the opening to allow for the cooktop lip overhang, which hides the raw edge of the counter.
When installing high-performance units like APWHeating products, you must also account for ventilation gaps. If a cooktop is being installed above a wall oven, verify the minimum vertical clearance required to prevent the oven's heat from damaging the cooktop's electronic components.
| Utility Requirement | Gas Equipment | Electric Equipment |
|---|---|---|
| Power Source | 120V (for ignition/lights) | 240V (40-50 Amp circuit) |
| Connection Type | CSA-approved flexible gas line | 3 or 4-wire power supply cord |
| Safety Testing | Soap-water leak test | Voltage and grounding check |
| Shut-off | Manual valve in accessible spot | Dedicated circuit breaker |
Step-by-Step Guide to Installing Cooking and Ventilation Systems
Once the site is prepped, the "heavy lifting" begins. Installing a commercial kitchen hood is perhaps the most complex part of the process, involving structural mounting, duct alignment, and electrical wiring.
Properly aligning the exhaust duct is critical for optimal air extraction. If the duct is even slightly off-center, grease can accumulate in pockets, creating a massive fire hazard. Following a structured SEKTION kitchen installation guide or a similar modular framework can help ensure that rails and mounting brackets are perfectly level before the weight of the hood is applied.
Commercial Hood and Ventilation Compliance
In cities like Philadelphia and Princeton, local building codes for ventilation are strict. You must account for "makeup air"—the air brought in from outside to replace the air being sucked out by the hood. Without it, your kitchen will develop a vacuum effect, making doors hard to open and causing your HVAC system to struggle.
- Grease Filters: These must be easily removable for cleaning but secure enough to catch airborne particulates.
- Fire Suppression: Most commercial hoods must be integrated with a fire suppression system (like an Ansul system) that automatically cuts gas flow and releases extinguishing agents if a fire is detected.
- Duct-Free Options: In some smaller cafes or areas where external ducting is impossible, specialized duct-free filter kits can be used, though these often require more frequent maintenance to remain compliant.
Range and Cooktop Securement
For freestanding ranges, leveling legs are your best friend. After the unit is in place, adjust the legs until the unit is level both side-to-side and front-to-back. This isn't just for aesthetics; it ensures that oil stays centered in your pans and that cakes bake evenly.
When installing heavy-duty StarCooking equipment, ensure that the anti-tip bracket is securely anchored to either the floor or the wall. To verify engagement, gently try to tilt the range forward; it should resist the movement entirely. For cooktops, spring clips or specialized double-sided tape (for granite surfaces) are used to secure the unit within the cutout, preventing it from shifting during use.
Electrical and Gas Connection Guidelines
This is the stage where "DIY" should typically end and professional expertise should begin. A mistake here doesn't just mean the equipment won't work—it could mean a gas explosion or an electrical fire.
For electrical units, the 1996 National Electrical Code (NEC) prohibits grounding through the neutral wire for new branch circuits. This means most modern installations require a 4-wire connection (two hots, a neutral, and a ground). Always use a UL-listed strain relief to prevent the wires from being pulled out of the terminal block.
When connecting gas lines, always use a new, CSA-approved flexible connector. Never reuse an old hose. Apply pipe-joint compound to the threaded connections, but avoid the first two threads to prevent the compound from entering the gas line. Once connected, perform the soap-water test: brush a soapy solution onto the joints and look for bubbles. If you see bubbles, you have a leak.
Common Mistakes to Avoid During Kitchen Equipment Installation
Even experienced contractors can trip up on the details. Here are the most frequent errors we see in the field:
- Improper Grounding: Failing to connect the green ground wire can lead to "hot" chassis issues, where touching the equipment gives the operator a shock.
- Flexible Duct Misuse: Using plastic or foil flexible venting for downdraft systems instead of the required rigid metal ducting. This significantly reduces airflow and increases fire risk.
- Ignoring Manufacturer Warranties: Many warranties are voided if the equipment isn't installed by a certified professional. Keeping your paperwork and proof of professional installation is vital. For specialized beverage setups, utilizing Bar Equipment Installation and Beverage Supply Services ensures that your soda and beer systems are covered by the same professional standards as your ovens.
Handling Refrigeration and Specialized Units
Refrigeration units have their own set of rules. The most common mistake is pushing a refrigerator too close to the wall, choking the condenser's airflow. Without at least 1-2 inches of "breathing room," the compressor will overheat and fail prematurely.
If you are upgrading your kitchen, you also need a plan for the old gear. Most professional installation services include haul-away protocols. This is particularly important for gas units, which should never be disconnected by untrained staff. Professionals will safely cap the lines and dispose of the old units according to local environmental laws in Pennsylvania and New Jersey.
The Strategic Value of Professional Installation Services
Why pay for professional kitchen equipment installation? It comes down to two words: reliability and protection. When we install equipment, we use only OEM (Original Equipment Manufacturer) parts. These are parts designed specifically for your machine, ensuring it runs at peak efficiency.
Most professional services, including those for GlobePreparation equipment, offer a 90-day warranty on both parts and labor. If something goes wrong shortly after installation, you aren't stuck with another bill. Furthermore, having a technician who is available 24/7 for emergency support means that if your walk-in cooler fails on a Saturday night in Atlantic City, you have a lifeline.
Professional vs. DIY: Protecting Your Investment
While assembling a few IKEA cabinets might be a fun weekend project, installing a 500-pound commercial range is not. Factory-trained technicians understand the nuances of different brands—they know that a Jade range might have different gas pressure requirements than a Lang.
- Code Compliance: Professionals ensure your setup meets all local Philadelphia or Newark fire and health department codes, saving you from costly fines or forced closures.
- Insurance Requirements: Many business insurance policies require that gas and electrical work be performed by licensed contractors to maintain coverage.
- Same-Day Service: Professional teams often arrive in GPS-equipped vans fully stocked with the tools and parts needed to get you "from box to cooking" in a single visit.
Frequently Asked Questions about Kitchen Setup
How long does a standard commercial appliance installation take?
In most cases, a single appliance installation can be completed in 2 hours or less. However, complex systems like commercial hoods or multi-unit beverage systems can take a full day or more depending on the ductwork and utility requirements.
Do I need a professional to install a gas range?
Yes. Because of the risks associated with gas leaks and the requirement for precise pressure regulation, most local jurisdictions in the Tri-State area require a licensed professional to handle gas connections.
What are the benefits of a preventative maintenance program?
Preventative maintenance is the "ounce of prevention" that saves you a "pound of cure." Regular checks can identify gas leaks, worn-out electrical components, or scale buildup in water lines before they cause a total system failure. For ice machines and soda systems, quarterly maintenance ensures your product stays clean and your production stays at maximum efficiency.
Conclusion
Mastering kitchen equipment installation is about more than just plugging in a machine; it’s about building a safe, efficient, and compliant heart for your business. From the initial blueprint to the first "perfect pour," every connection matters.
At Carbonator Rental, we’ve been "Powering the Perfect Pour Since 1955." Whether you need a complete soda fountain setup, a nitrogen generator for your brewery, or a full suite of kitchen equipment, we provide the local Philadelphia support and dependable personal service your business deserves. Don't leave your installation to chance—trust the experts who have been supporting the Delaware Valley's hospitality industry for three generations.
Ready to get your kitchen up and running? Contact us today to learn how our installation and beverage supply services can help your bistro thrive.